Your Cart is Empty

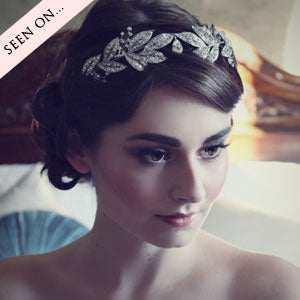
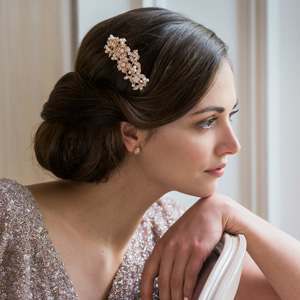
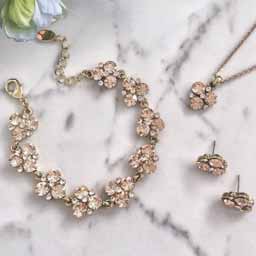
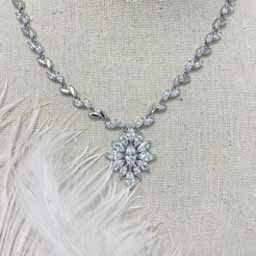
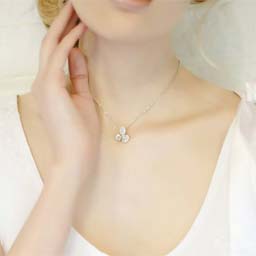
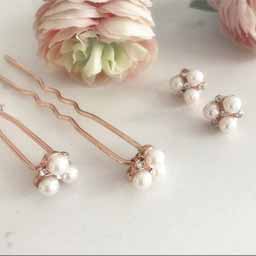
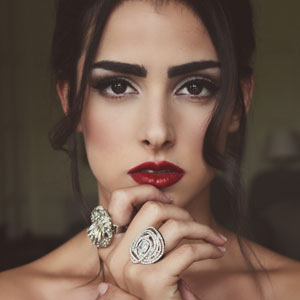
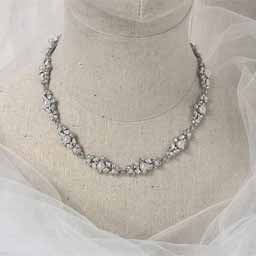
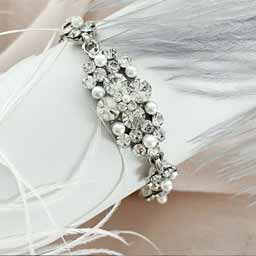
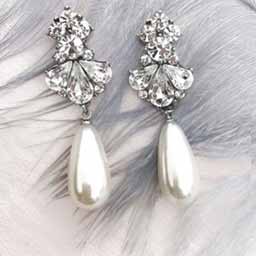
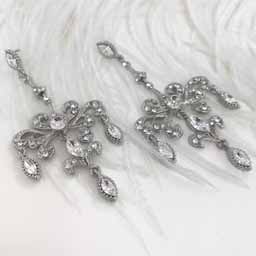
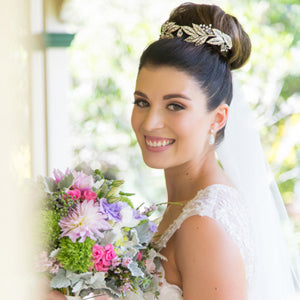
We have been very busy behind the scenes preparing for the launch of our new collections. Part of this process is, of course, our photo shoots where we love to feature our jewels in a bridal setting. At our latest shoot, we had another opportunity to work with the multi-talented Make-Up Artist, Louise Bonci. Louise specialises in fashion, photographic and bridal make-up as well as skin therapy. We asked Louise if she could share how she achieved our gorgeous model's, Agne Motiejunaite, beautiful look to give you some tips for your wedding day make-up. All the products Louise mentions below are by Arbonne Cosmetics.
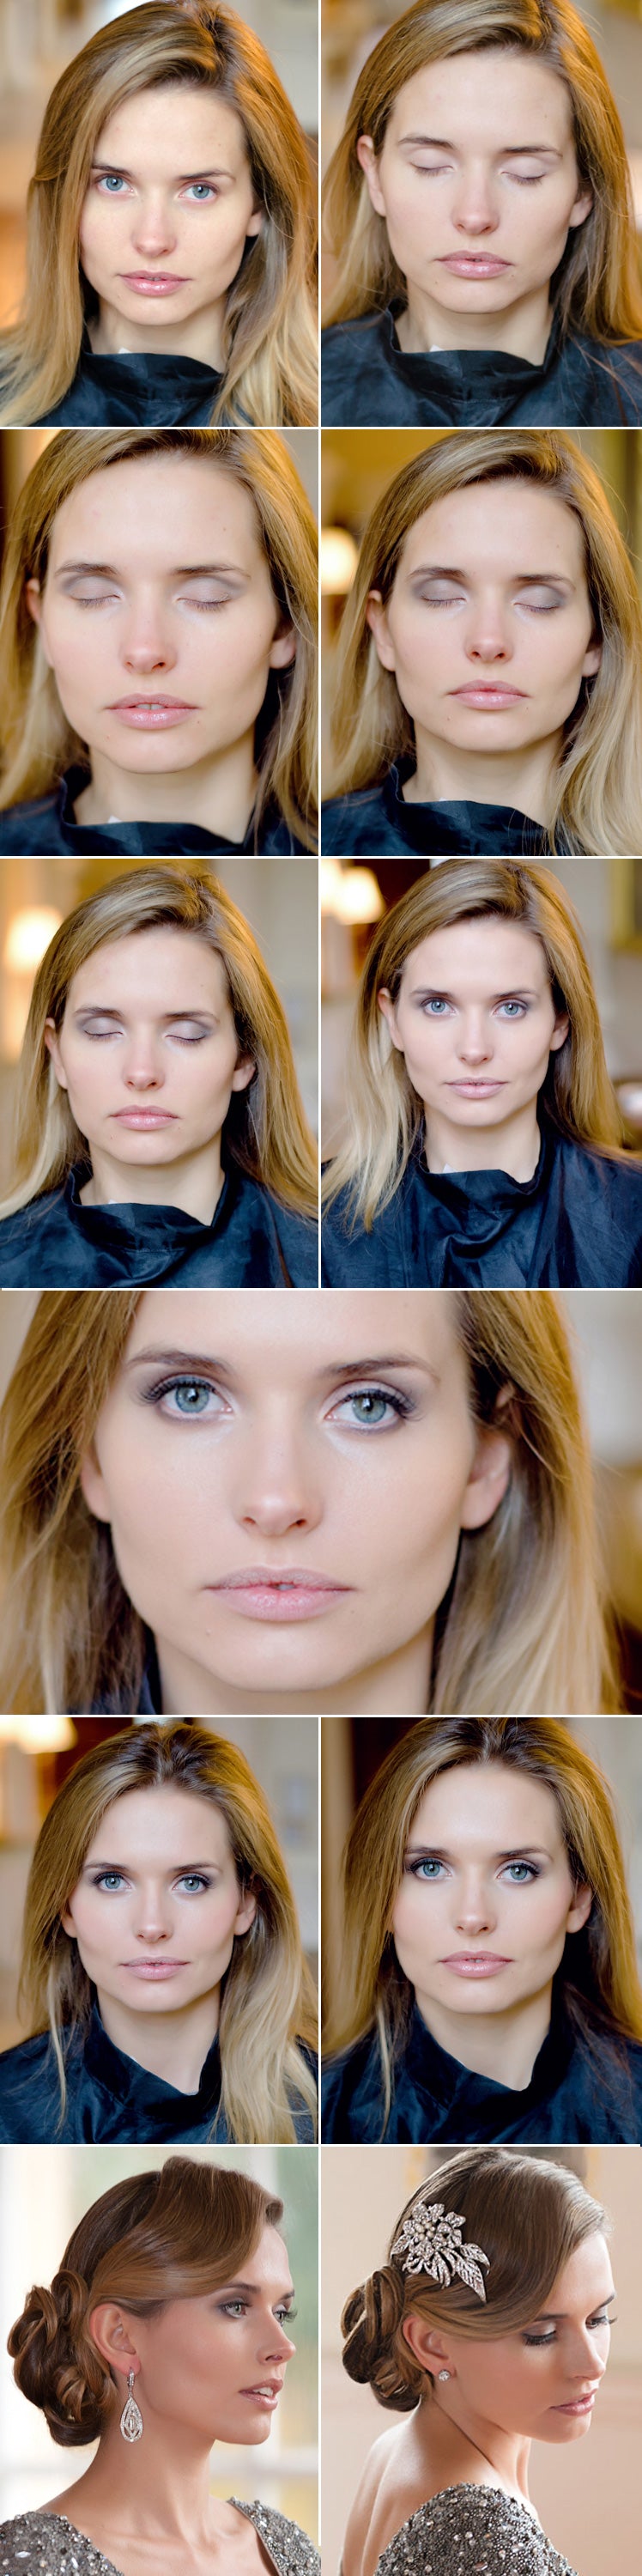
First Row Left: Skin cleansed & moisturised | First Row Right: Steps 1 - 3 | Second Row Left: Step 4 | Second Row Right: Step 5 | Third Row Left: Step 6 | Third Row Right: Step 7 | Fourth Row: Steps 8 & 9 | Fourth Row Left: Steps 10 - 12 | Fourth Row Right: Step 13 | Fifth Row Left & Right: Finished look
Step 1: Louise started by preparing the face with Makeup Primer.
Step 2: She then gently applied Crème Concealer in Medium on any imperfections with her finger tips.
Step 3: This was followed by Perfecting Liquid Foundation in Honey Beige, which she evenly blended with a sponge. The foundation can also be applied with your fingertips in small circular motions. Remember to blend the edges of the face to avoid any lines.
Step 4: Louise then concentrated on the eyes. She began by sweeping Smoke Eye Shadow over the lids, blending upwards to the top of the creases.
Step 5: She then applied Titanium Eye Shadow into the creases working from the inner corner to the outward corner of the eyes. She also applied the same colour along the upper and lower lash lines with a slant/angle brush blending outwards to create a soft smoky look.
Step 6: The base of the upper and lower eyelashes were then lined with Liquid Liner in black. The best way to achieve a straight line is to start from the inside corner moving outwards in one motion. Let this dry before the next step.
Step 7: Louise then applied Eye Liner Pencil in Charcoal over the Liquid Liner on the lower eyelashes only to soften the line.
Step 8: Louise then applied two coats of Triple Action mascara
Step 9: To complete the look she groomed the eyebrows with Brow Gel.
Step 10: To create our natural bridal look Louise swept a blush brush over some Bronzer and then applied it along the bottom half of the cheek bones. To contour your jawline you can also apply the Bronzer along the jawbone.
Step 11: The cheek bones were then highlighted with blush in Blossom from the centre of the cheeks up along the cheek bone.
Step 12: To finish Louise applied Sheer Glow Highlighter on the cheeks and forehead. A tiny amount can also be applied just under the brow arch and swept outwards.
Step 13: Finally Lip Polish was applied in Pearl.
For bridal make-up or makeover enquiries, contact Louise Bonci

Comments will be approved before showing up.